
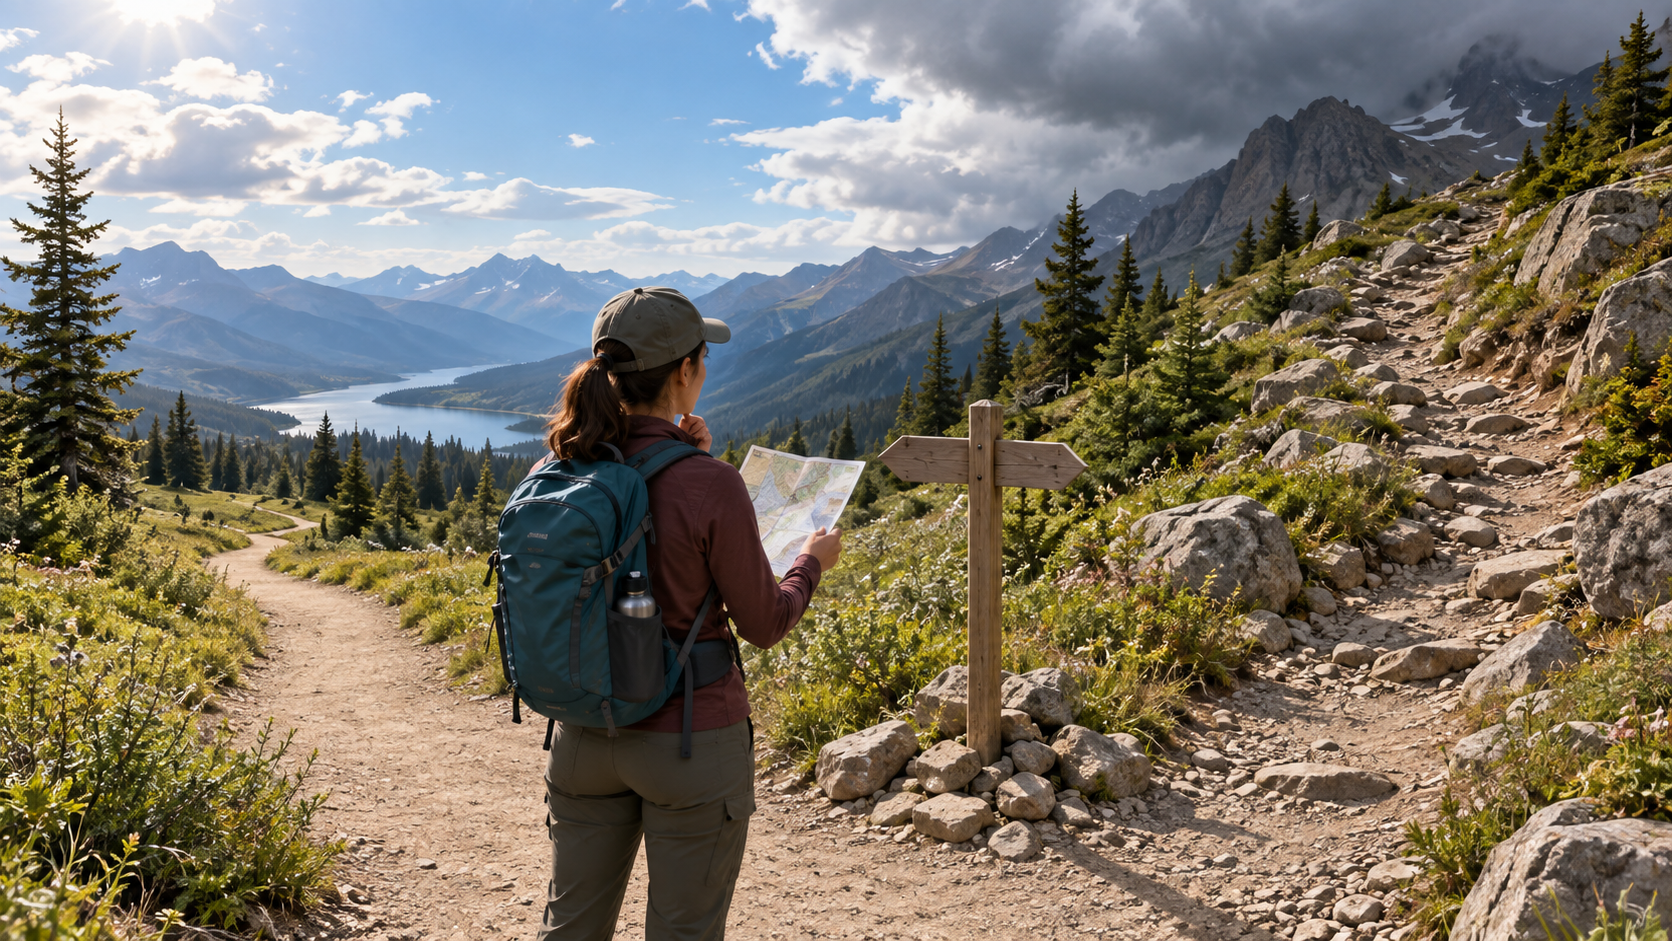
A hike becomes hard when its demands exceed what you can comfortably manage that day. Distance determines how long you must keep moving. Elevation gain increases climbing work and often adds tiring descents. Terrain affects speed, balance, and concentration. Weather can intensify all three by adding heat, cold, wind, rain, snow, poor visibility, or slippery footing.
That is why mileage alone is a poor difficulty test. A smooth five-mile walk on gentle ground can feel easier than a rocky three-mile route with a steep climb. The same trail can also feel moderate on a cool, dry morning and genuinely difficult during heat, heavy rain, or lingering snow.
The Four Factors at a Glance
| Factor | What to check | Why it makes a hike harder | Common beginner blind spot |
|---|---|---|---|
| Distance | Total route length and likely time on feet | Fatigue accumulates and small problems have more time to grow | “It is only a few more miles.” |
| Elevation | Total gain and loss, steepest climb, repeated ups and downs | Climbing raises effort; descent loads tired legs and requires control | Looking only at the highest point |
| Terrain | Surface, obstacles, exposure, crossings, mud, sand, snow, and route clarity | Rough ground slows movement and demands balance and attention | Assuming every mile takes equal effort |
| Weather | Forecast, temperature, sun, wind, rain, lightning, and recent conditions | Weather changes footing, visibility, hydration, temperature stress, and safe timing | Treating the trail’s published rating as fixed |
Trail Difficulty Labels Are Starting Points
Easy, moderate, strenuous, green, blue, and black labels can help organize routes within one park or trail system. They are not universal measurements of what a hike will feel like to you.
Land managers use different systems. Shenandoah National Park, for example, calculates a numerical rating from elevation gain and mileage, then converts that number into a difficulty description. Other parks publish their own descriptive ratings and condition notes. These labels summarize selected information; they cannot know your fitness, pack weight, experience, group, or the day’s weather.
Use the official rating, but also read how it was produced and what the route description says. Compare trails within the same system more confidently than trails rated by unrelated websites or parks.
Distance Measures More Than Miles
Distance matters because it increases time on feet. As a hike continues, fatigue can affect pace, balance, decision-making, hydration, and how comfortable minor problems feel. A shoe hot spot, a heavy pack, or a slower-than-expected group becomes more important when several miles remain.
Check whether the listed distance is one way, round trip, or a full loop. An out-and-back route may offer a clear turnaround option, but every mile outward creates a mile you still need to return. A loop can commit you to continuing even when the second half is harder.
Do not use this article to choose a universal beginner mileage. Instead, compare the route with a recent hike you completed comfortably. If the new hike is longer, ask whether elevation, terrain, or weather is also more demanding. Adding difficulty in several categories at once makes the comparison much less forgiving.
For a dedicated distance decision, use MoreHiking’s guide to how far a beginner should hike.
Elevation Gain Tells You How Much Climbing Accumulates
The highest point on a trail and the total elevation gain are not the same thing. A rolling route can climb and descend repeatedly, accumulating substantial gain without reaching a dramatic summit. Check the route’s total ascent as well as its starting and highest elevations.
Also look at how quickly the climbing occurs. The same elevation gain spread over several miles generally creates a different challenge from a short, steep climb. On a topographic map, closely spaced contour lines indicate a steeper slope. An elevation profile can reveal one concentrated climb, repeated rollers, or a descent that must be climbed on the return.
Downhill is not free. Descending may require braking, balance, and controlled steps, especially when legs are already tired. Loose rock, wet roots, high steps, or a heavy pack can make a descent slower and more demanding than expected.
Elevation gain is useful, but it should be read beside distance and terrain. A large climb on a smooth, well-graded path and a smaller climb over rough boulders do not create the same experience.
Terrain Changes the Cost of Every Mile
Terrain is the surface and physical structure of the route. A wide, firm path allows a steady rhythm. Rocks, roots, sand, mud, snow, ice, fallen trees, stream crossings, scrambling, narrow ledges, or poorly marked sections require slower and more deliberate movement.
Rough terrain can be difficult even when it does not look steep on an elevation profile. It may demand ankle stability, careful foot placement, route-finding, or the use of hands. Exposure can add a psychological challenge for someone uncomfortable near steep drop-offs.
Read recent official condition reports, not only the permanent trail description; land managers such as Rocky Mountain National Park publish changing trail-condition information that can materially alter a route decision. A route that is normally straightforward can change after storms, flooding, snowmelt, wildfire, maintenance work, or a bridge closure. If the land manager reports a crossing, snowfield, or damaged section beyond your experience, choose another route rather than treating it as a surprise to solve on arrival.
Weather Can Rewrite the Difficulty Rating
Weather does more than affect comfort. Heat can make a familiar pace feel much harder and increase water needs. Cold, wind, and rain can cool the body and make stops less comfortable. Wet rock, roots, bridges, and leaves can become slippery. Snow or ice can hide the path and require equipment or skills that a dry-season hike does not.
Storm timing matters too. National Weather Service outdoor lightning guidance says that when thunder is heard, you are in danger and should move toward safe shelter; exposed ridges and peaks are especially poor places to be during lightning. A route that keeps you above treeline or far from shelter during the forecast storm window may be unsuitable even if its mileage is modest.
Check the forecast for the trail’s location and elevation, park alerts, road access, and the most recent official trail conditions. Then build a Plan B. The correct difficulty assessment is based on the conditions you expect during your hike, not on a perfect-day photograph.
The Factors Multiply Each Other
Difficulty is not always a simple sum. Factors interact.
A long distance makes a moderate climb harder because you reach it with more fatigue. Rough terrain makes the same distance take longer. Heat increases the strain of climbing. Rain can turn ordinary soil into mud and make a descent slower. Strong wind on exposed terrain can affect balance and temperature. A late start can turn a long route into a visibility and time problem.
This interaction explains why a single statistic can mislead. The route’s dominant difficulty might be one steep climb, but it could also be the combination of ordinary mileage, repeated rollers, loose footing, and a warm afternoon.
Your Body, Pack, and Group Change the Answer
Trail difficulty describes the route imperfectly; personal difficulty describes the match between the route and the people hiking it.
Consider your recent hiking experience, sleep, health, heat or cold tolerance, footwear, pack weight, and confidence on the expected terrain. A group also moves according to its members, not its fastest hiker. Children, new hikers, injuries, and different comfort levels can change both speed and decision-making.
This does not mean you need perfect fitness. It means “hard” is partly relational. The same trail can be a reasonable challenge for one person and a poor choice for another. Base your plan on the least-prepared member’s honest capacity and use a pace that the group can sustain. MoreHiking’s guide to pacing yourself on a hike explains how to regulate that effort once you are moving.
A Four-Factor Check Before You Go
For each factor, mark the route green, yellow, or red.
Green means it is similar to something you have managed comfortably in comparable conditions. Yellow means it is meaningfully more demanding or uncertain. Red means it includes a condition, skill, exposure, or demand that you are not prepared to manage.
Then ask:
- Which factor is most demanding?
- Are two or more factors harder than my recent comfortable hike?
- Is any important information missing or out of date?
- What weather or trail change would make this route unacceptable?
- What is my simpler Plan B?
Green does not mean risk-free, and yellow does not automatically mean no. The system is a prompt for honest comparison. A red item deserves resolution, training, different equipment, experienced help, or a different trail—not wishful thinking.
Two Quick Comparisons
Route A: five miles on a maintained path with gentle grades in cool, dry weather. Route B: three miles with a concentrated climb, loose rock, and an exposed descent. Route B may be harder despite being shorter because elevation and terrain dominate.
Route C: a familiar moderate loop in dry conditions. Route D: the same loop after heavy rain with muddy slopes, higher stream flow, and thunderstorms forecast for the afternoon. The map has not changed, but weather and current terrain have changed the difficulty and may change whether the hike is suitable at all.
The Best Difficulty Question
Do not ask only, “Is this an easy trail?” Ask, “How do this trail’s distance, elevation, terrain, and expected weather compare with what I can comfortably manage today?”
That question turns a vague label into a real decision. Start with official information, compare the route with recent experience, identify the dominant factor, and leave room for conditions to be worse or progress to be slower than expected. If you are completely new to hiking, MoreHiking’s beginner starting guide provides the broader preparation foundation.
Choosing a manageable trail is not avoiding growth. It is how beginners build the experience needed for harder hikes later.
Frequently Asked Questions
What matters more for hiking difficulty: distance or elevation gain?
Neither always matters more. A long, flat route can be difficult because of time and accumulated fatigue, while a short route can be difficult because it climbs steeply. Compare both, then add terrain and weather before deciding.
Why can downhill hiking feel so hard?
Descending requires controlled steps, balance, and repeated braking by the legs. Steep grades, loose rock, wet roots, large steps, fatigue, or a heavy pack can make downhill travel slow and demanding.
Are trail difficulty ratings consistent?
No. Parks, apps, guidebooks, and trail systems may use different definitions or formulas. Use the rating as a starting point, read the route details and current conditions, and compare the trail with your own recent experience.
Can weather make an easy hike dangerous?
Yes. Heat, lightning, flooding, cold, wind, snow, ice, and poor visibility can change both effort and safety. Check the current forecast, official alerts, and trail conditions, and choose another plan when conditions exceed your skills or preparation.
Leave a Reply