
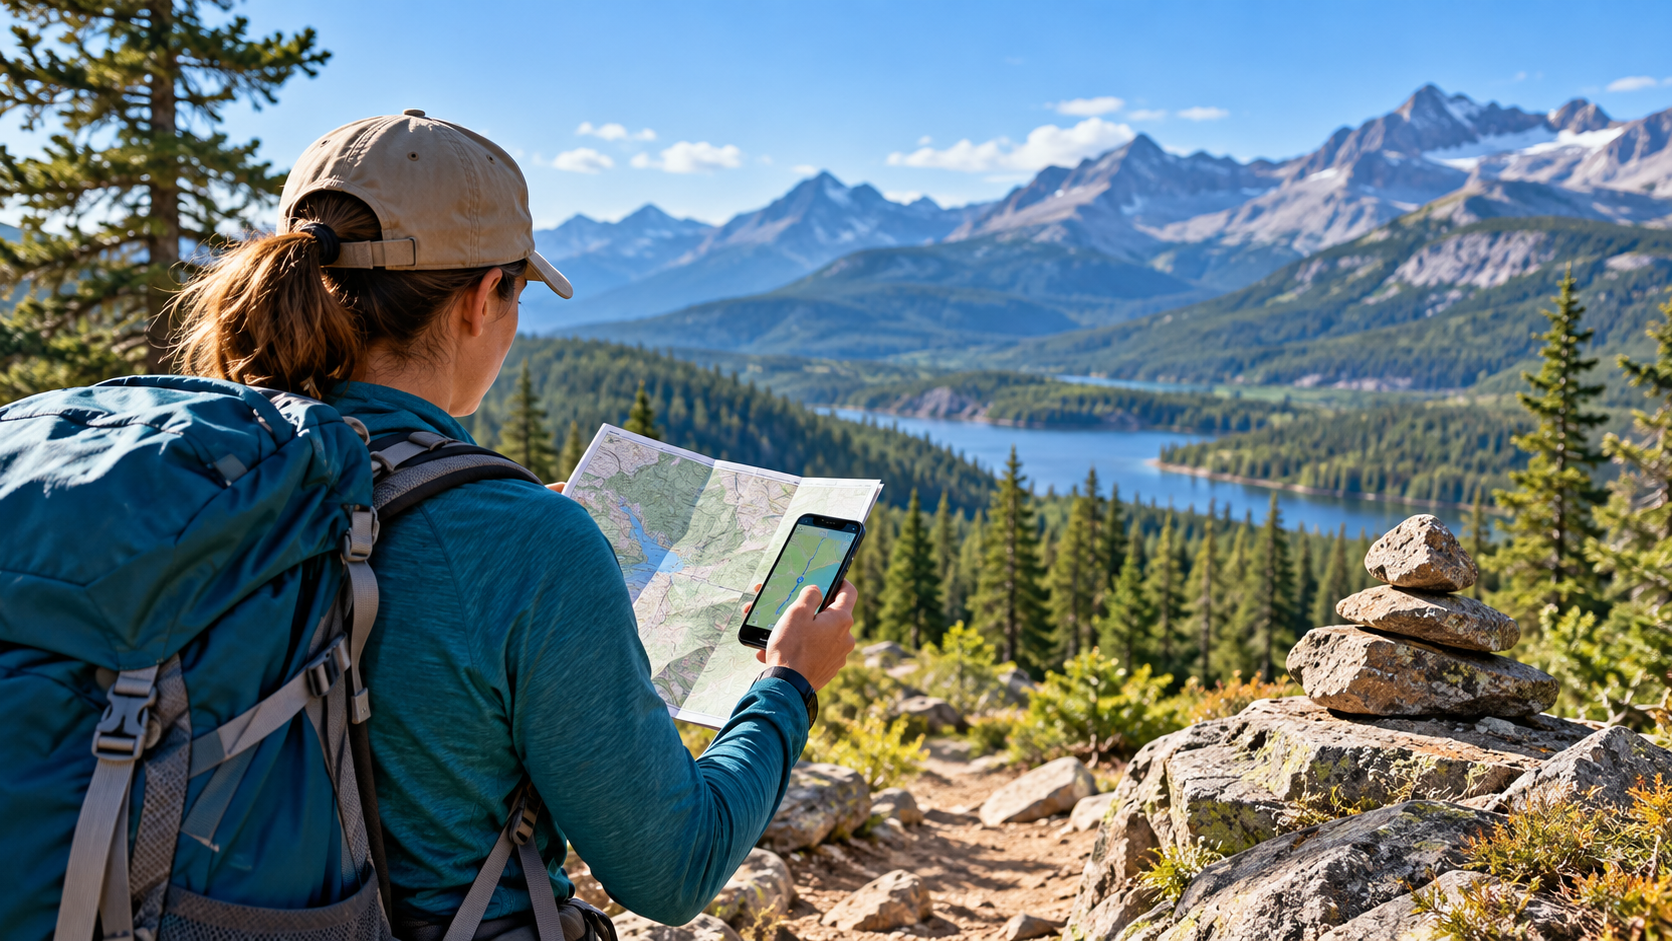
Beginner hiking navigation does not start when you realize you are lost. It starts at the trailhead, when you know where you are, where the route is supposed to go, and what clues will tell you that you are still following it.
For a simple marked hike, you do not need to become an expert navigator before going outside. But you do need a repeatable way to stay oriented. A downloaded map, a few deliberate checks, and the discipline to stop when something does not make sense can prevent a small wrong turn from becoming a much bigger problem.
The goal is simple: keep knowing where you are often enough that you never have to reconstruct the entire hike from memory.
Start With a Route You Can Explain
Before leaving home, look at the whole route rather than only the trail name.
You should be able to answer a few basic questions:
- Where is the trailhead?
- Is the route an out-and-back, loop, or point-to-point hike?
- Are there important junctions?
- What direction does the route generally travel?
- Are there obvious landmarks such as a lake, road, ridge, bridge, creek, or viewpoint?
- Where could you accidentally follow the wrong trail?
This does not require memorizing every bend. You are building a mental outline.
If you are still choosing a hike, start with a clearly marked route that matches your current ability. MoreHiking’s Start Here: The Beginner Hiking Roadmap and How Far Should a Beginner Hike? can help keep the physical and navigational demands reasonable while you build experience.
Download the Map Before You Leave Service
A phone can be an excellent navigation tool, but do not assume the map will load when you need it.
Download the route or offline map before leaving reliable service. Confirm that the trail, trailhead and nearby junctions actually appear while the phone is offline.
Then preserve battery. Depending on your phone and needs, that may mean reducing screen use, carrying a power bank on a longer outing, or using airplane mode when appropriate.
The important distinction is this:
Your phone should help you verify where you are. It should not be the only reason you know where you are.
The National Park Service Ten Essentials include map, compass and GPS systems in the navigation category and recommend knowing how to use the navigation tools you carry.
Establish a Known Starting Point
At the trailhead, do not immediately start walking.
Open the map and locate yourself. Confirm the name of the trail, the direction you are leaving, and the first expected junction or landmark.
If the parking area has several trail entrances, this is especially important. A surprising number of navigation problems begin with confidence that the “obvious” trail must be the correct one.
Take ten or twenty seconds and establish your first known point.
That gives every later check something to build from.
Stay Found by Checking at Decision Points
You do not need to stare at a map continuously.
Check when the trail gives you a reason to make a decision:
| Decision point | What to confirm |
|---|---|
| Trail junction | Which branch matches the planned route? |
| Sign or marker | Does the trail name or destination agree with your map? |
| Bridge, creek or road crossing | Is this crossing where you expected it? |
| Major turn | Does the new direction make sense? |
| Viewpoint or named landmark | Does its location match your progress? |
| Long stretch with no expected feature | Have you gone farther than the map suggested? |
These small confirmations create a chain of known positions.
The habit matters more than perfection. A beginner who checks six obvious decision points can often stay better oriented than a more experienced hiker who walks for an hour assuming the route is obvious.
Match the Map to What You See
Navigation becomes easier when the map stops feeling like a separate object.
Notice the world around you.
Is the creek on the side you expected? Are you climbing when the route should be climbing? Did the trail bend toward the ridge or away from it? Did you cross a road that should not appear until much later?
You do not need to calculate bearings for every observation. You are simply asking whether the landscape and your map continue to tell the same story.
This is one reason map skills remain useful even when your phone shows a blue location dot. The dot tells you a position. Your understanding tells you whether that position makes sense.
Use “Last Known Point” Thinking
If something starts to feel wrong, ask:
Where was the last place I was certain of my location?
Maybe it was a signed junction ten minutes ago. Maybe it was a bridge, a viewpoint, or the trailhead.
That last known point is more useful than guessing where you might be now.
As long as you still know the safe route back to that point, you have options.
The mistake is often continuing forward because the trail “probably reconnects” or because turning back feels inconvenient.
Stop When Your Confidence Drops
You do not have to wait until you are officially “lost” to make a navigation decision.
MoreHiking’s How to Know When to Turn Around on a Day Hike uses route confidence as one of the five margins for deciding whether continuing still makes sense. Losing confidence in the route is a legitimate reason to stop forward progress.
Do You Need a Compass on a Beginner Trail?
On a short, popular, clearly marked local route, you may rely mostly on the trail map, signs and your phone.
But consequences matter.
As trails become more remote, intersections become more confusing, weather reduces visibility, or the route becomes less obvious, carrying an independent navigation backup becomes more valuable.
A baseplate compass is lightweight and does not require a battery, but carrying one is not the same as knowing how to use it. Practice basic map orientation and direction-finding somewhere forgiving before depending on those skills in a difficult situation.
If you are choosing a simple first compass, MoreHiking already has a Best Hiking Compasses for Beginners guide. The deeper skill of reading maps, markers and junction signs belongs to the next article in this navigation cluster.
What About Following Other Hikers?
Other people are not a navigation system.
A group ahead may be taking a different loop, heading to a campsite, returning from another route, or simply making the same mistake you are.
Use other hikers as information, not proof.
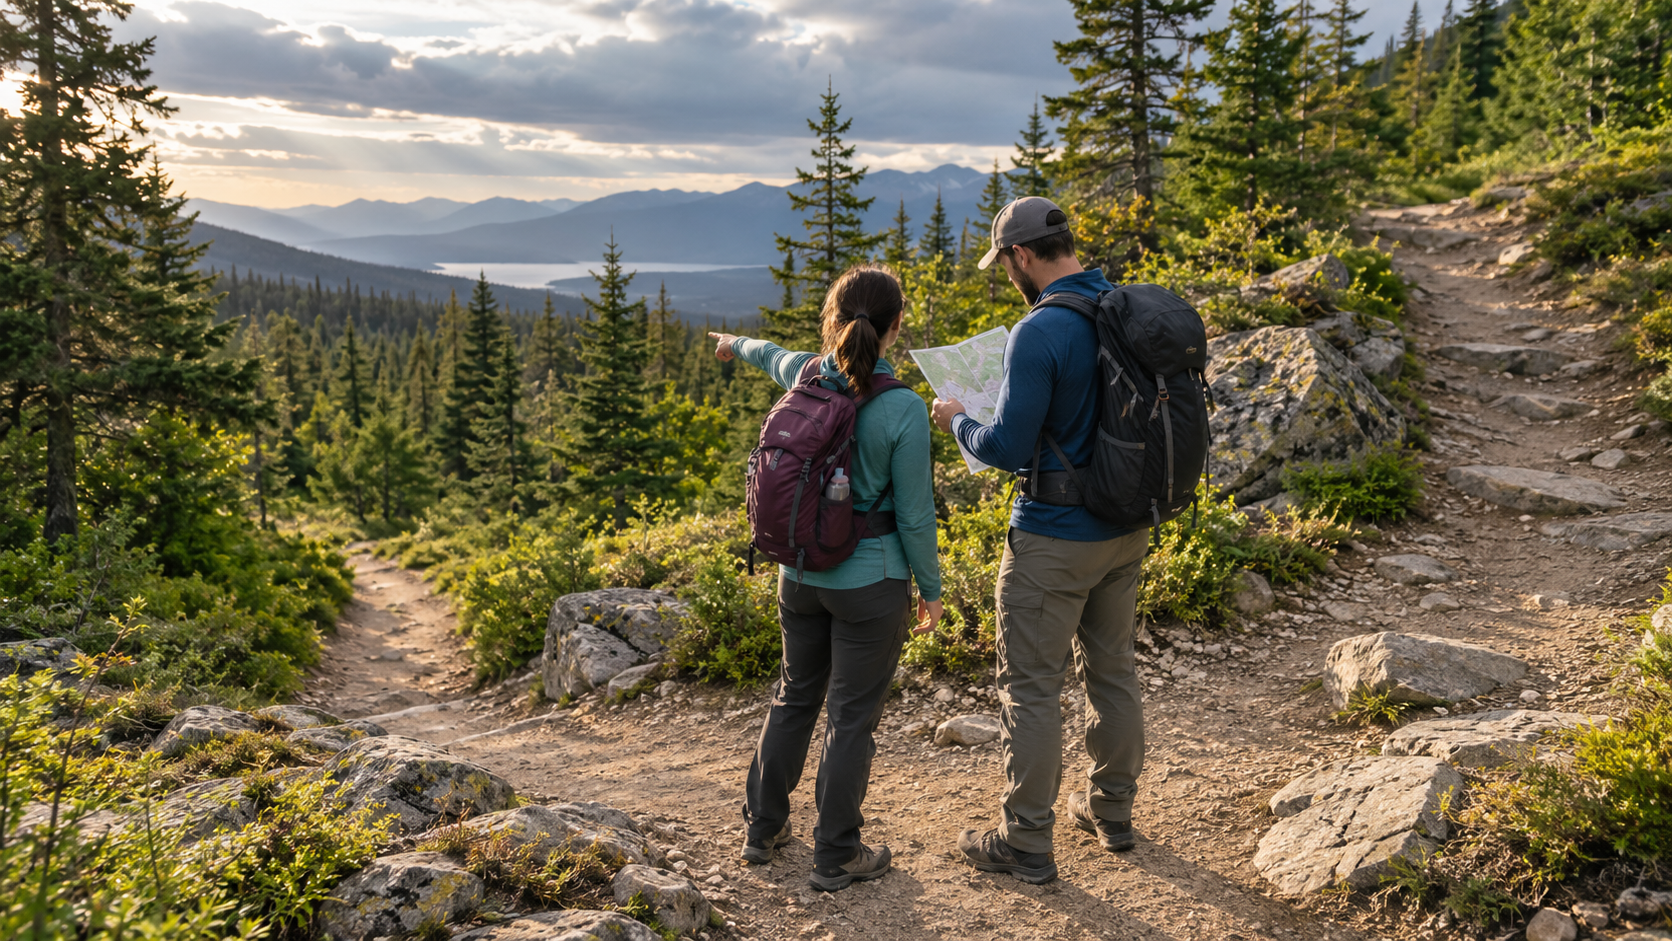
If someone gives you directions, compare what they say with your map and the route information you already have.
A Five-Check Navigation Routine
For a beginner day hike, this simple routine is enough to build much better awareness:
- Before the hike: Download the map and understand the route shape.
- At the trailhead: Confirm your exact starting point and first expected feature.
- At every important junction: Stop long enough to choose deliberately.
- During the hike: Match major terrain and landmarks to the map.
- At the first sign of uncertainty: Stop, identify your last known point, and reconfirm before continuing.
You are not trying to prove that you can navigate without help.
You are creating enough small confirmations that you rarely need a big recovery.
Build Navigation Into Your Hiking Progression
Navigation is a skill you can increase gradually, just like distance and elevation.
Begin on well-marked local trails. Learn to keep the map oriented to your direction of travel. Start noticing junctions and landmarks. Then try less familiar routes while keeping the physical difficulty conservative.
That fits the same principle used in MoreHiking’s Beginner Hiking Progression Plan: increase one major challenge at a time.
A longer hike, rougher terrain, unfamiliar route and weak navigation skills should not all become new variables on the same day.
Frequently Asked Questions
Can I use Google Maps for hiking navigation?
Sometimes it can help with roads, parking and broad location awareness, but dedicated trail maps usually provide better trail detail. Whatever app you use, confirm that your intended route is actually mapped and available offline before relying on it.
Should I keep my phone in airplane mode while hiking?
Airplane mode can reduce battery use, but your exact setup depends on the phone, app and communication needs. Test your offline map before the hike and make sure you understand which functions remain available.
What if the trail sign and my app disagree?
Stop and investigate rather than choosing whichever answer you prefer. Check the official trail information, your map, your last known point and any current reroutes or closures. A stale digital route can be wrong.
How often should I check my hiking map?
Check at meaningful decision points: the trailhead, junctions, major turns, named landmarks and whenever your surroundings do not match what you expected. The goal is regular confirmation, not continuous screen watching.
The Skill Is Staying Found
Good beginner navigation is not about knowing every advanced technique.
It is about building a chain of small, reliable decisions.
Know the route before you start. Establish your position at the trailhead. Check important junctions. Compare the map with the terrain. Protect your phone battery. Carry backup appropriate to the consequences. And stop moving forward when your confidence falls.
That is how a beginner becomes harder to lose.




Leave a Reply